Want to upgrade your Goruck ruck with a hip belt? Our guide has all the tools, preparation, and installation steps you need for a secure and comfortable fit. Plus, troubleshoot common issues and get tips for optimal use.
Tools Needed for Goruck Hip Belt Install
Are you ready to install your new Goruck Hip Belt? Here are the essential tools you will need to get the job done:
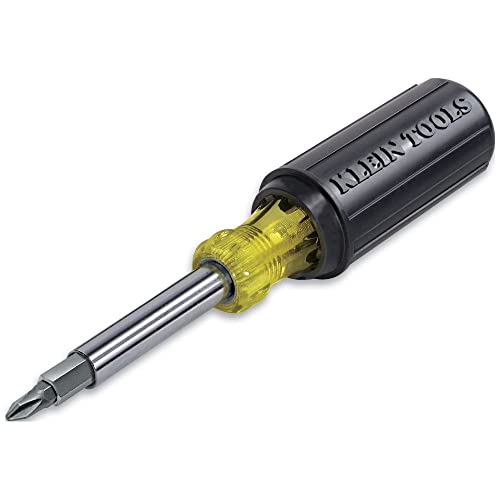
Screwdriver
A screwdriver is necessary to remove the old belt and insert the new hardware. Make sure to have both a Phillips and flathead screwdriver on hand, as the hardware may require different types of screws.
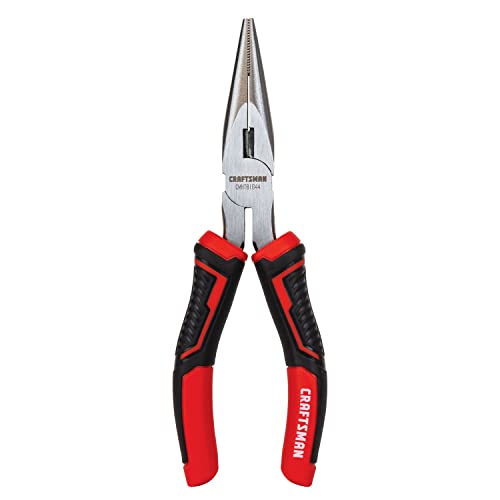
Pliers
Pliers are useful for holding bolts in place while tightening nuts with a wrench or hex key. They can also assist with removing old hardware that might be stubborn or rusted.
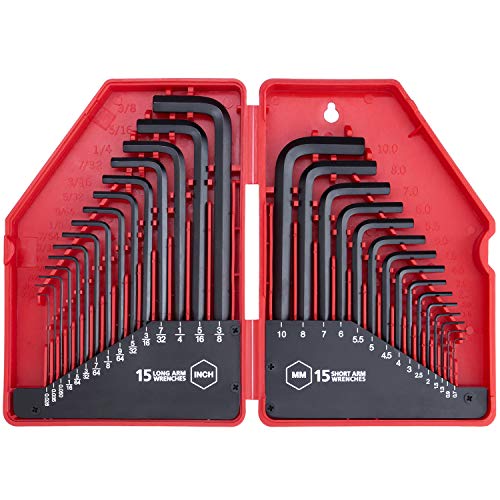
Hex Key/Allen Wrench
The hex key, also known as an Allen wrench, is essential for tightening bolts and nuts that have hexagonal heads. Make sure to have a set of different sizes to match the hardware provided with your Goruck Hip Belt.
Drill
If your Goruck Ruck does not already have holes pre-drilled for the hip belt hardware, you will need a drill to create them. Make sure to use the appropriate drill bit size for the hardware provided.
With these tools at your disposal, you’ll be ready to install your Goruck Hip Belt with ease. Let’s move on to the next step and prepare for the installation process.
Preparation for Goruck Hip Belt Install
If you’re planning to install a Goruck hip belt, there are a few things you need to do beforehand to make sure the installation process goes smoothly. Here are the steps you need to take to prepare for the installation:
Remove Old Belt
The first thing you need to do is remove the old belt from your ruck. Depending on the type of belt you have, this may involve unscrewing it or cutting it off. Make sure you have the right tools for the job, and be careful not to damage your ruck in the process.
Clean and Dry Ruck
Once you’ve removed the old belt, you’ll need to clean your ruck to make sure there’s no dirt, dust, or debris that could interfere with the installation of the new belt. Use a damp cloth to wipe down the inside of the ruck, and then let it air dry completely before proceeding.
Mark Placement of New Belt
Before you start installing the new hip belt, you’ll need to mark the placement on your ruck. This will help you ensure that the belt is positioned correctly and that the hardware is installed in the right place. Use a piece of chalk or a marker to make your marks, and double-check your measurements to make sure everything lines up.
Gather Tools and Hardware
Finally, make sure you have all the tools and hardware you need for the installation. This may include a screwdriver, pliers, hex keys or allen wrenches, and a drill. Check the instructions that came with your hip belt to make sure you have everything you need, and organize your tools and hardware so you can easily access them during the installation process.
By following these steps to prepare for the installation of your Goruck hip belt, you’ll be well on your way to a successful and hassle-free installation. With a little bit of planning and preparation, you can ensure that your hip belt is installed securely and comfortably, making your ruck even more versatile and functional.
Installing the Goruck Hip Belt
When it comes to installing your Goruck hip belt, there are a few steps you’ll need to follow to ensure it is properly attached to your ruck. First and foremost, you’ll need to insert the hardware into your ruck. This is typically done by using a drill to create holes in the fabric where the hardware will be inserted.
Inserting Hardware into Ruck
Before you begin drilling, it’s important to make sure you have the correct placement for your hip belt. Use the markings you made during the preparation phase to determine where the hardware should be placed. Once you’ve determined the correct placement, use your drill to create holes in the fabric.

Once you have your holes drilled, it’s time to insert the hardware. Depending on the type of hardware you have, this may involve screwing it in, using a hex key or Allen wrench to tighten it, or even using pliers to secure it in place. Make sure to refer to the manufacturer’s instructions to ensure you’re properly inserting the hardware.
Attaching Hip Belt to Ruck
With the hardware in place, it’s time to attach the hip belt to your ruck. This is typically done by threading the belt through the hardware and securing it in place. Again, refer to the manufacturer’s instructions to determine the correct way to attach your specific hip belt.
Once your belt is attached to your ruck, it’s time to adjust it for comfort and fit. This will involve adjusting the length of the belt as well as the position of the hardware.
Adjusting Hip Belt for Comfort and Fit
To adjust the length of your hip belt, simply loosen the hardware and slide the belt through until it is at your desired length. Once you have the length adjusted, you can then adjust the position of the hardware to ensure it sits comfortably on your hips.
It’s important to take the time to properly adjust your hip belt for comfort and fit, as an ill-fitting belt can cause discomfort and even lead to injury. Once you’ve made your adjustments, it’s a good idea to practice carrying your ruck with the new belt before using it on a longer hike or event.
In summary, installing your Goruck hip belt is a multi-step process that involves inserting hardware into your ruck, attaching the belt to your ruck, and adjusting it for comfort and fit. By following the manufacturer’s instructions and taking the time to properly adjust your belt, you can ensure a comfortable and secure fit that will allow you to tackle any challenge with ease.
Troubleshooting Goruck Hip Belt Install
If you face any issues during the installation of the Goruck Hip Belt, don’t worry. Here are some common problems and their solutions:
Loose or Misaligned Hardware
If you notice that the hardware is loose or not aligned correctly, you need to tighten it. Start by checking if the screws are in place and if not, insert them properly. Then, use a screwdriver or pliers to tighten them. If the hardware is still loose, you can use threadlocker to secure it. Threadlocker is a type of adhesive that prevents screws from loosening due to vibrations or movement. Apply a small amount of threadlocker to the screws and tighten them again.
Belt Too Tight or Loose
If the hip belt is too tight or loose, you need to adjust it. Start by loosening the hardware and sliding the belt through the buckles. Adjust the belt to your preferred fit and then tighten the hardware again. Make sure the belt is not too tight, as it can restrict your movement, or too loose, as it can cause the ruck to bounce around. A properly fitted hip belt should be snug around your waist, and you should be able to move comfortably.
Hip Belt Slipping or Moving
If the hip belt slips or moves out of place, it can be frustrating and uncomfortable. This can happen if the hardware is not tight enough or if the belt is not adjusted correctly. Check the hardware and tighten it if necessary. Then, adjust the belt to your preferred fit and make sure it is snug around your waist. If the hip belt still slips or moves, you can add friction by wearing a shirt or undershirt with a rubber grip. This will help the hip belt stay in place and prevent any discomfort.

In summary, these troubleshooting tips can help you overcome any issues you may face during the installation of the Goruck Hip Belt. Remember to check the hardware, adjust the belt to your preferred fit, and use additional friction if necessary. With these steps, you can enjoy a comfortable and secure rucking experience.
Tips for Goruck Hip Belt Install
One of the most important aspects of installing a Goruck hip belt is ensuring that it is secure and comfortable. Here are some tips to help you achieve optimal results:
Use Threadlocker on Hardware
To prevent the hardware from coming loose over time, it is important to use threadlocker on all screws and bolts during installation. Threadlocker is a type of adhesive that prevents screws and bolts from vibrating loose. It is available in different strengths, so be sure to choose the appropriate one for your hardware.
Double-Check Placement and Tightness
Before using your Goruck ruck with the new hip belt, double-check that all hardware is properly placed and securely tightened. This will prevent any issues while using the ruck, such as the belt slipping or becoming misaligned. It is better to take a few extra minutes to ensure everything is in order than to have to stop during your activity to fix any issues.
Adjust Belt for Optimal Comfort
The Goruck hip belt is designed to be adjustable for optimal comfort. Once installed, adjust the belt to fit your body snugly, but not too tightly. The belt should sit on your hips, rather than your waist or lower back. Make sure to adjust both sides equally to prevent any imbalance.
- To adjust the belt, follow these steps:
- Loosen the belt by pulling the strap away from the ruck.
- Adjust the length of the strap as needed.
- Pull the strap back towards the ruck to tighten it.
- Adjust the other side of the belt in the same manner.
Practice Carrying Ruck with New Belt Before Use
Before using your Goruck ruck with the new hip belt for an activity, take some time to practice carrying it with some weight. This will allow you to adjust the belt and ensure that it is comfortable and secure. Start with a lighter weight and gradually increase the weight to your intended load. This will also help you get accustomed to the new feel of the ruck with the hip belt. By doing this, you can avoid any issues during your activity and ensure a comfortable and successful experience.